Discover 13 essential wildlife photography tips for beginners. Learn how to capture stunning animal images with expert advice on equipment, techniques, and fieldcraft.

Imagine freezing a majestic lion’s roar or capturing the graceful flight of an eagle – that’s the thrill of wildlife photography!
But where do you start?
Whether you’re dreaming of African safaris, exploring your local nature reserve, or capturing beautiful birds in your backyard, these 13 essential wildlife photography tips will set you on the path to capturing breathtaking animal images.
Get ready to unleash your inner National Geographic photographer!
Master Your Camera Gear

Let’s kick things off with the heart of wildlife photography – your gear!
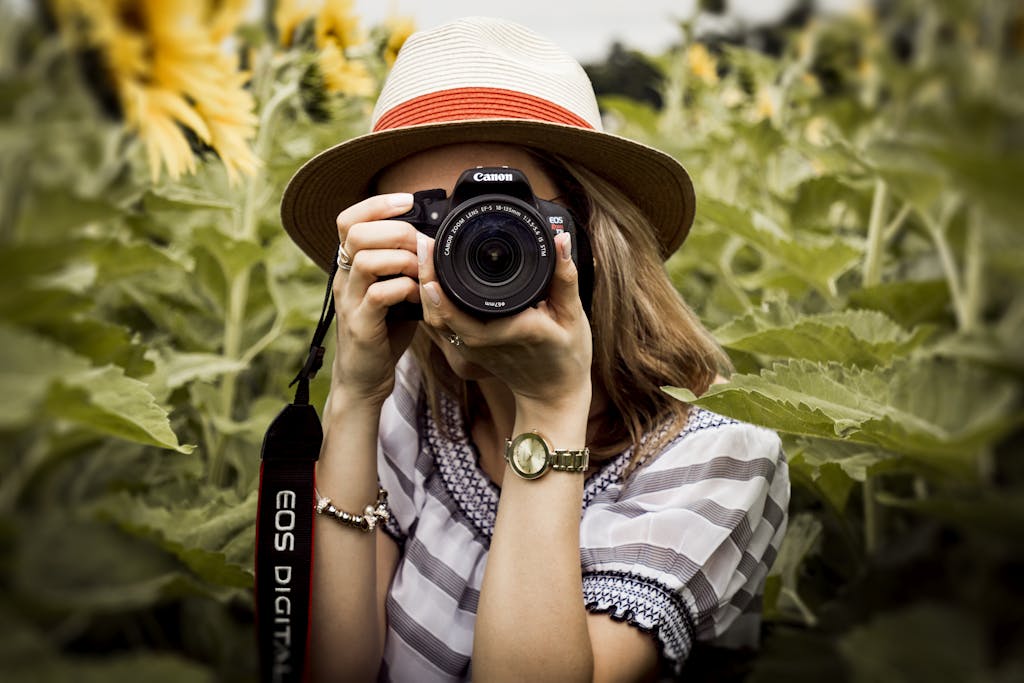
Trust me, having the right equipment can make or break your shots. First up, let’s talk lenses. You’ll want a good telephoto lens for those up-close and personal animal portraits. I’m talking about the kind of shots where you can count the whiskers on a lion’s face! But don’t forget about wide-angle lenses either. They’re perfect for capturing animals in their natural habitats, giving your viewers a sense of place and scale.
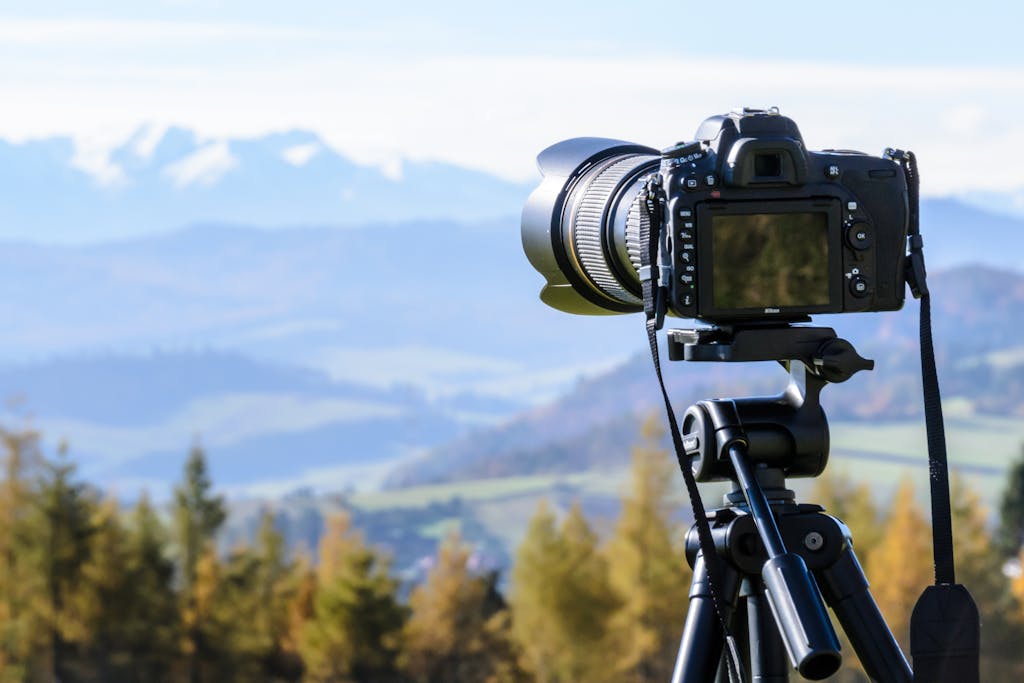
Now, I know what you’re thinking – “Isn’t all that gear heavy?” Well, that’s where a sturdy tripod comes in handy. It’s an absolute must-have, especially when you’re working with those long lenses or shooting in low light conditions. And let me tell you, some of the most magical wildlife moments happen during dawn and dusk, so you’ll be glad you lugged that tripod along!
But wait, there’s more!
When it comes to wildlife photography, speed is the name of the game. You never know when that perfect moment will strike, so you need to be ready. That’s why I always recommend investing in fast memory cards. Trust me, there’s nothing worse than missing the shot of a lifetime because your camera’s still writing to the card!
Oh, and one last thing – don’t forget about the weather! Mother Nature can be unpredictable, so make sure your gear can handle whatever she throws at you. Weather-sealed equipment is worth its weight in gold when you’re out in the field. I’ve been caught in sudden downpours more times than I can count, but my weather-sealed camera has never let me down! And a 100% free tip for you, that bad weather can make for some unbelievable shots. But remember, a great shot is not worth getting if you have to get struck by lightning to get it.
Perfect Your Camera Settings
Alright, now that we’ve got our gear sorted, let’s dive into the nitty-gritty of camera settings. First things first – always shoot in RAW format. I know, I know, it takes up more space on your memory card. But trust me, the flexibility it gives you in post-processing is absolutely worth it. You’ll thank me later when you’re able to rescue that slightly underexposed shot of a rare bird!
Now, let’s talk shutter speed. When it comes to wildlife, faster is almost always better. I’m talking 1/1000s or even faster if you can manage it. Why? Because animals move fast! You want to freeze that motion, capturing every detail of a cheetah’s sprint or an eagle’s wingbeat. It’s the difference between a blurry mess and a wall-worthy masterpiece.
But what about when the light starts to fade? That’s where ISO comes into play. Don’t be afraid to crank it up! Modern cameras can handle high ISOs incredibly well, and a slightly grainy shot is better than a blurry one any day of the week. Remember, you can always reduce noise in post-processing, but you can’t un-blur a photo!
My personal favorite mode of shooting is manual mode and setting my ISO to auto. I want full control over my aperture and shutter speed. If that means I need a little higher ISO, I’m fine with it. I shoot with an R7, which isn’t super great with really high ISO (like all crop sensors), so I do put an upper limit on it where I feel comfortable. If you’re shooting with a modern full frame camera, that number is likely going to be higher.
Develop Essential Fieldcraft Skills

Now, this is where the rubber meets the road, folks. You can have all the fancy gear in the world, but if you don’t know how to behave in the field, you’re not going to get the shots.
First and foremost, do your homework!
Research the animals you want to photograph. What are their habits? When are they most active? Where are they likely to be found? Knowledge is power in wildlife photography.
Patience is absolutely crucial. I can’t stress this enough. Wildlife photography isn’t about rushing in, snapping a few shots, and heading home. It’s about waiting… and waiting… and waiting some more.
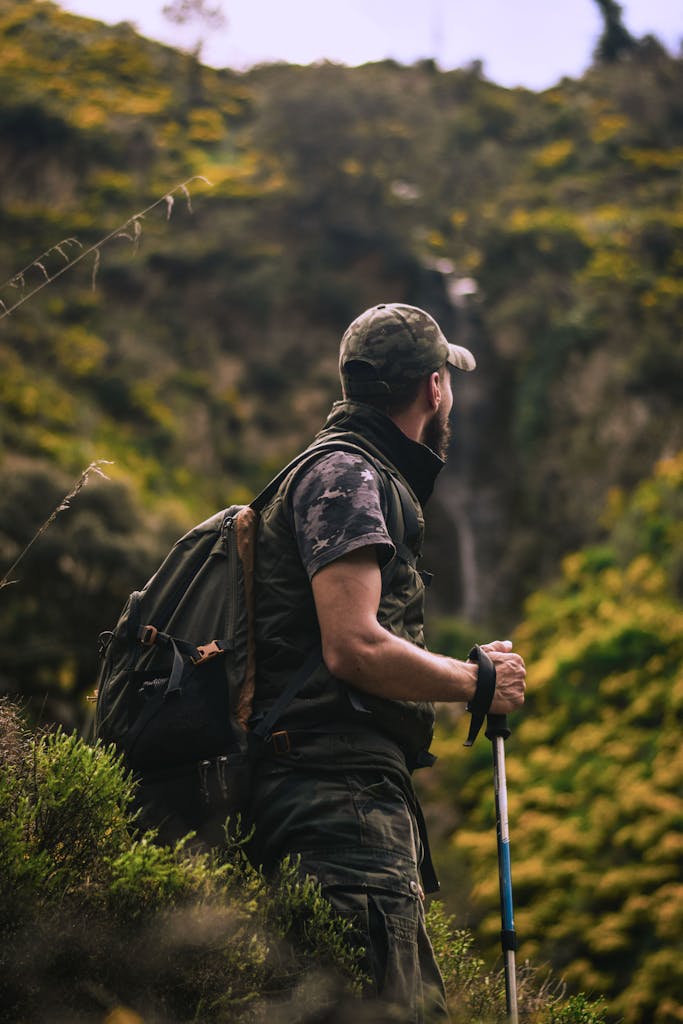
Now, let’s talk about blending in. You want to be as invisible as possible to the animals. That means dressing in camouflage or muted colors. It means using blinds or natural cover to conceal yourself. And it means being quiet – no chatting with your buddies or rustling around in your backpack. The animals need to forget you’re there.
Finally, remember to respect the animals and their space. Move slowly and carefully when you’re approaching. If an animal shows signs of stress, back off. No photo is worth harming or disturbing wildlife. We’re guests in their home, after all!
Compose Captivating Wildlife Shots
Alright, you’ve got your gear, you’ve nailed your settings, and you’ve mastered fieldcraft. Now it’s time to create some truly captivating images! Let’s start with the rule of thirds. It’s a classic for a reason, folks. Imagine your frame divided into a 3×3 grid. Placing your subject along these lines or at their intersections often creates a more balanced and interesting composition. But hey, rules are made to be broken, so don’t be afraid to experiment!
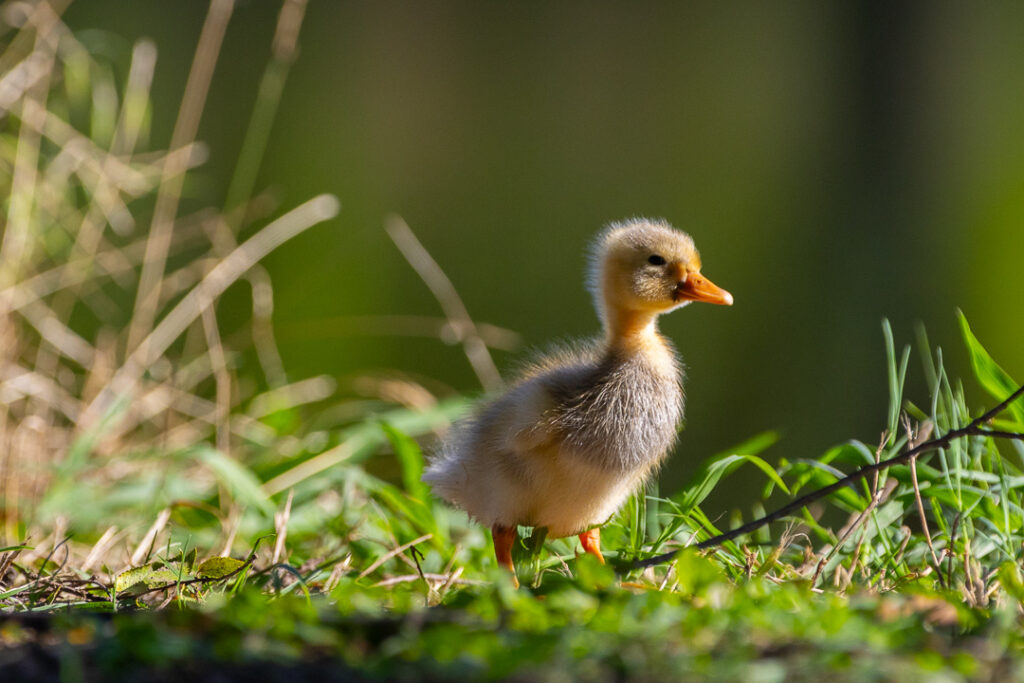
When it comes to wildlife portraits, it’s all about the eyes. They’re the windows to the soul, after all! Try to get the animal’s eye in sharp focus. There’s something magical about making eye contact with a wild creature, even if it’s through a photograph. It creates an instant connection between the viewer and the subject.
But don’t forget about the bigger picture! Including some of the animal’s environment in your shot can really help tell a story. Is it a penguin on an ice floe? A monkey in a lush jungle? The habitat is part of the animal’s story, so try to include it when you can. Zoom lenses can really help here. Get in real close to get that super close up, then back it off to get that environment shot.
And speaking of stories, don’t be afraid to get creative with your angles and perspectives. Get low to the ground for an ant’s-eye view of the world. Or climb up high for a bird’s-eye perspective. The world looks different from these angles, and your photos will stand out because of it. Great photography is about showing people the world in ways they’ve never seen before!
Master Light and Timing

Light is the photographer’s paintbrush, and in wildlife photography, timing is everything! Let’s start with the golden hour – that magical time just after sunrise or just before sunset when the light is warm and soft. It’s flattering for just about any subject, but it’s especially beautiful for wildlife. The warm tones can bring out the richness of an animal’s fur or feathers, and the low angle of the light creates beautiful shadows that add depth to your images.
But don’t limit yourself to just the golden hour! Side-lighting can be your best friend in wildlife photography. It creates contrast and brings out texture in a way that flat, front-lighting just can’t match. Imagine the sun glinting off the scales of a lizard or highlighting the individual hairs in a lion’s mane. That’s the power of side-lighting!
Now, let’s talk about a real challenge – backlight. It can be tricky to work with, but when you nail it, the results are spectacular! Backlighting can create stunning, dramatic silhouettes or beautiful rim lighting around your subject. It’s perfect for those misty morning shots of deer in a forest or birds taking flight at sunset.
Timing isn’t just about light, though. It’s also about understanding animal behavior. Many animals are most active during the early morning or late evening, which conveniently coincides with the best light! Do your research and plan your shoots to coincide with peak activity periods. You’ll have a much better chance of capturing interesting behavior and action shots.
Post-Processing for Wildlife Photos
Alright, you’ve been out in the field, you’ve captured some amazing shots, and now it’s time to bring them to life in post-processing! First things first – white balance. Getting this right can make a huge difference in how natural your images look. Wildlife should look… well, wild! You don’t want your polar bears looking yellow or your tropical birds looking blue.
Next up, let’s talk about sharpening. This is where you can really make your subject pop! But be careful – over-sharpening is a common mistake in wildlife photography. You want to enhance the natural details, not create an artificial-looking image. I like to use selective sharpening, focusing on key areas like the eyes or fur texture while leaving softer areas (like out-of-focus backgrounds) alone.
Now, don’t be afraid to crop your images. Sometimes, getting close enough in the field just isn’t possible. A good crop can dramatically improve your composition, bringing the viewer’s attention right where you want it. Just be careful not to crop too aggressively – you still need enough resolution for a high-quality image.
Finally, consider developing a consistent editing style for your wildlife portfolio. This doesn’t mean all your images should look the same – far from it! But having a cohesive look can help your work stand out and be recognizable. Maybe you prefer high-contrast, punchy images, or perhaps you lean towards a more natural, subdued look. Whatever your style, be consistent in applying it.
Remember, post-processing is a tool to enhance your images, not create them from scratch. The goal is to bring out the best in what you captured in the field, not to fabricate something that wasn’t there. With practice, you’ll develop an editing workflow that brings your wildlife images to life while staying true to the beauty of the natural world!
Armed with these 13 essential wildlife photography tips, you’re ready to embark on your own wild adventures behind the lens. Remember, great wildlife photography takes practice, patience, and respect for nature.
And please, don’t wait until you think you’ve studied everything you need to know.
Just go start shooting. That will be your best learning tool!