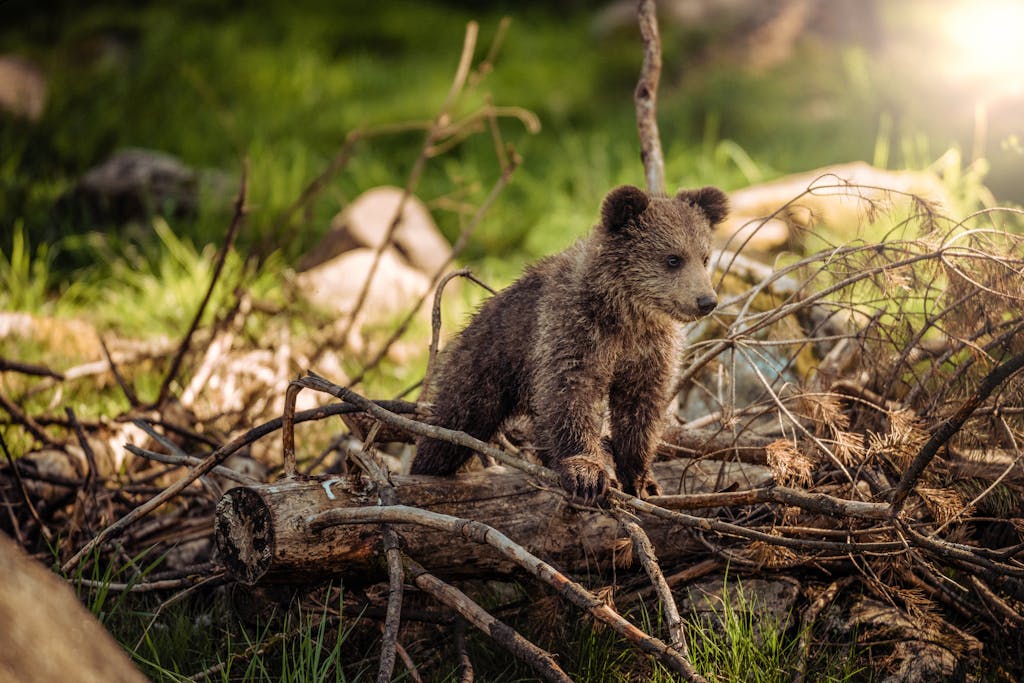
Ever wondered how wildlife photographers capture those awe-inspiring animal portraits that seem to peer into the very soul of their subjects? It’s not just luck – it’s a combination of skill, patience, and insider knowledge. In this guide, we’ll unveil 7 secrets that will transform your animal photography from ordinary to extraordinary. Get ready to embark on a wild adventure that will elevate your craft and bring you face-to-face with nature’s most captivating creatures!
1. Master the Art of Animal Behavior Prediction
Let’s face it, animals aren’t exactly known for their willingness to pose for the camera. But that doesn’t mean we can’t capture those perfect moments! The key? Becoming a master of animal behavior prediction. Trust me, it’s not as mystical as it sounds.
First things first, you’ve got to do your homework. Before you even think about picking up that camera, dive into some serious study of your subject’s habits and patterns. Are you tracking a nocturnal creature? Then you’d better be prepared for some late nights! Or maybe you’re after that elusive bird that only shows up during mating season? Time to mark your calendar!
But here’s where it gets really exciting – learning to read subtle body language cues. It’s like becoming an animal whisperer, but with a camera! Watch for those little twitches, the way they cock their head, or how their ears perk up. These tiny details can signal when an animal is about to do something incredible, giving you a split second advantage to capture that perfect shot.
Now, I know what you’re thinking. “How am I supposed to become an expert on every animal out there?” Well, here’s a little secret – you don’t have to! Field guides and local expertise are your best friends. Chat up the park rangers, befriend the local wildlife enthusiasts, and soak up their knowledge like a sponge. They’ll clue you in on the best spots and prime photo opportunities that you’d never find on your own.
But let’s be real – even with all this knowledge, wildlife photography is a game of patience. You might spend hours, days, or even weeks waiting for that perfect moment. But oh boy, when it happens, it’s pure magic!
Practice your observation skills, settle in, and get ready to capture those authentic, once-in-a-lifetime moments that’ll make your friends’ jaws drop!
2. Perfect Your Stealth Approach Techniques
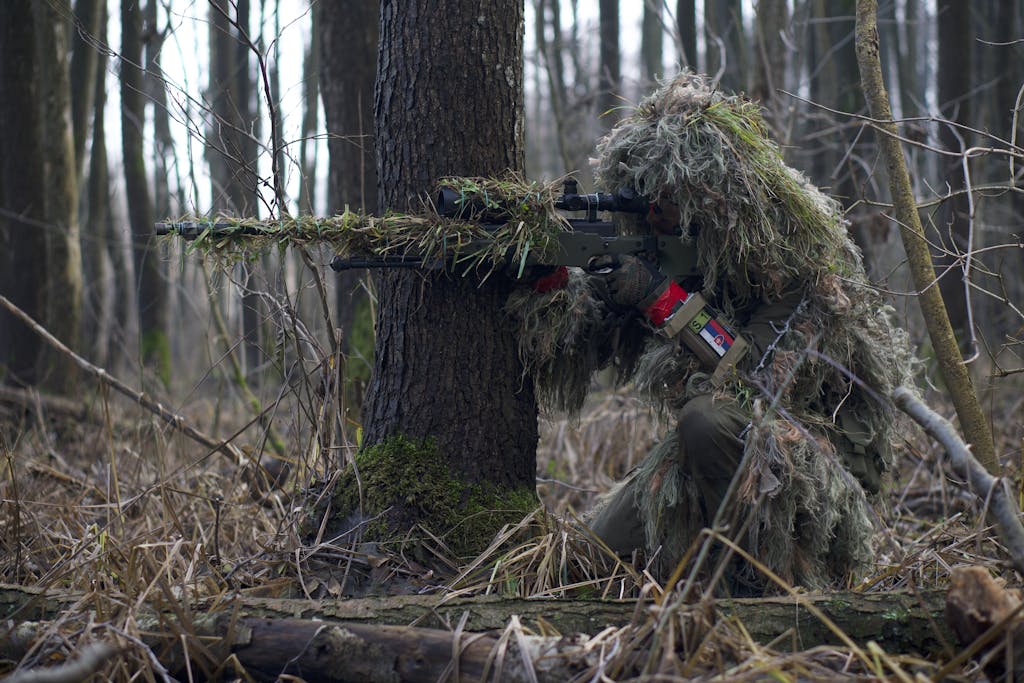
Alright, wildlife enthusiasts, it’s time to channel your inner ninja! Perfecting your stealth approach is crucial if you want to get up close and personal with your animal subjects without sending them running for the hills. Trust me, I’ve learned this the hard way – nothing’s worse than scaring off that majestic lion just as you’re about to snap the shot of a lifetime!
First things first – invest in some quality camouflage gear. And no, I don’t mean those tacky camo pants from the army surplus store. We’re talking about gear that’s appropriate for your specific environment. Heading into the desert? Think sandy hues. Trekking through a lush forest? Go for earthy greens and browns. The goal is to blend in so well that even your own mother wouldn’t recognize you!
Now, here’s where the real art comes in – mastering the art of slow, deliberate movements. It’s like playing a game of “Red Light, Green Light” with nature. Move when the animal is distracted, freeze when they look your way. It takes practice, but once you’ve got it down, you’ll be gliding through the wilderness like a leaf on the wind.
Don’t forget to use the landscape to your advantage! Mother Nature has provided us with plenty of natural blinds and covers. That fallen log? Perfect hiding spot. Those dense bushes? Nature’s very own camouflage net. Learn to spot these natural shields and use them to get closer to your subjects without being detected.
Lastly, and this might sound a bit odd, but you’ve got to learn to control your breathing. Yep, you heard me right! Heavy breathing can give away your position faster than you can say “cheese.” Practice taking slow, controlled breaths, and for heaven’s sake, try not to sneeze! Nothing sends animals scattering quite like an unexpected “ACHOO!”
Remember, the key to great wildlife portraits is getting close enough to capture those intimate details without disturbing the animal. Master these stealth techniques, and you’ll be snapping award-winning shots in no time!
3. Harness the Power of Golden Hour Lighting
Ah, the golden hour – that magical time when the world is bathed in a warm, ethereal glow. It’s like nature’s own Instagram filter, and boy, does it make wildlife look good! If you’re not planning your shoots around this prime time, you’re missing out on some seriously stunning photo ops.
So, when exactly is this mystical golden hour? It happens twice a day – just after sunrise and right before sunset. I know, I know, it means some early mornings and late evenings, but trust me, it’s worth setting that alarm clock! The soft, warm light during these times can transform an ordinary animal portrait into something truly extraordinary.
But here’s the thing – different animals behave differently in various light conditions. Some creatures are early risers, perfect for those dawn shoots. Others are more active as the day winds down. It’s like a natural wildlife fashion show, and you’ve got front row seats! Learning these patterns will help you be in the right place at the right time to capture that perfect golden hour shot.
Now, let’s talk about a little trick that’ll really make your photos pop – backlighting. Position yourself with the sun behind your subject, and suddenly, you’ve got stunning silhouettes and beautiful rim lighting that’ll make your animal portraits look like they belong in a gallery. It’s like giving your subject a natural halo!
And don’t forget about side-lighting! This technique can work wonders for enhancing texture and depth in your images. Imagine capturing the intricate details of an elephant’s wrinkled skin or the fluffy fur of a arctic fox, all accentuated by that gorgeous golden hour glow. It’s enough to make any wildlife photographer weak at the knees!
Remember, timing is everything when it comes to golden hour shooting. So pack your gear, set your alarm, and get ready to capture some truly magical moments in the wild. Your Instagram followers will thank you!
4. Nail Your Focus on the Eyes
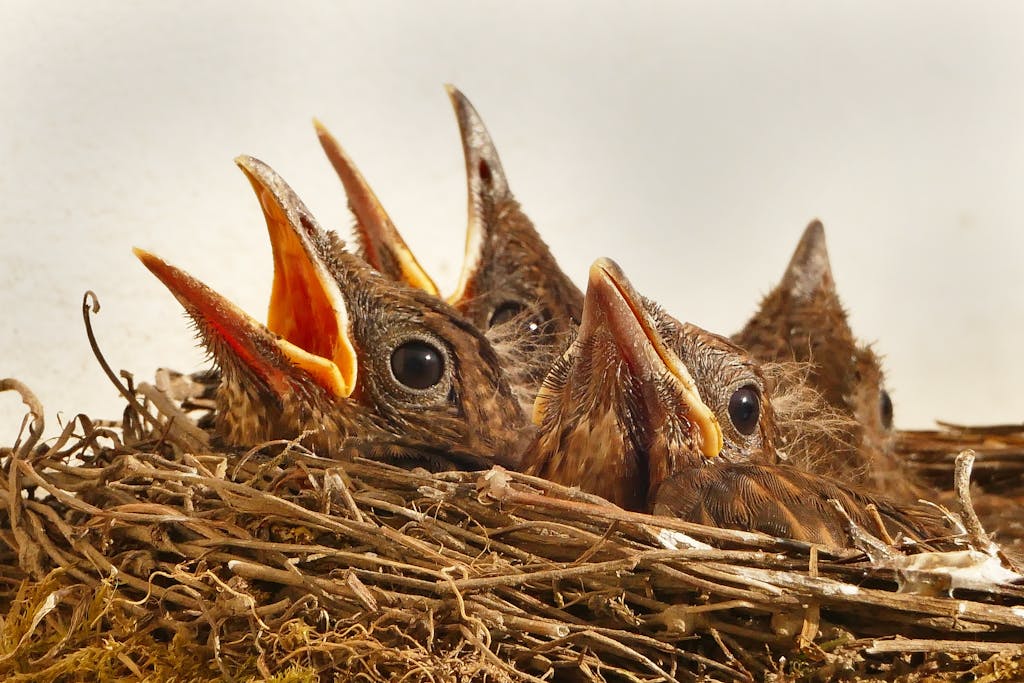
Let’s get one thing straight – when it comes to animal portraits, it’s all about the eyes! They say the eyes are the window to the soul, and that’s just as true for our furry, feathered, and scaly friends as it is for us humans. Nailing that sharp focus on the eyes can be the difference between a nice snapshot and a breathtaking portrait that stops people in their tracks.
So, how do we make sure those peepers are tack-sharp? First off, you’ve got to master your camera’s autofocus settings. I know, I know, diving into the technical side of things isn’t always fun, but trust me, it’s worth it! Get to know your camera like it’s your best friend. Learn which AF modes work best for different situations. For most wildlife portraits, single-point AF is your go-to. It gives you precise control, letting you zero in on those eyes like a laser-guided missile of focus!
But here’s the thing – wildlife doesn’t always cooperate with our fancy camera settings. That’s where pre-focusing techniques come in handy. If you’re shooting a fast-moving subject (I’m looking at you, cheetahs!), try pre-focusing on a spot you think the animal will pass through. Then, it’s just a matter of timing your shot perfectly. It takes practice, but when you nail it, oh boy, it’s a fantastic feeling!
Now, let’s talk about emotional impact. There’s something magical that happens when you capture an animal’s eyes in sharp focus. Suddenly, you’re not just looking at a picture of an animal – you’re connecting with it. You can see the intelligence, the wildness, the soul behind those eyes. It’s like the animal is looking right back at you, telling its story through a single glance.
Remember, while the eyes should be your primary focus, don’t neglect the rest of the face. A slightly softer focus on the nose, whiskers, or beak can add depth to your image and make those eyes pop even more. It’s all about creating that perfect balance.
So next time you’re out in the field, channel your inner eye doctor and give those animal eyes the focus they deserve. Your portraits will thank you for it!
5. Compose for Maximum Impact
Alright, shutterbugs, it’s time to talk composition! Now, I know what you’re thinking – “Isn’t wildlife photography all about capturing the moment?” Well, yes and no. While timing is crucial, how you frame that moment can make or break your image. So let’s dive into some composition techniques that’ll take your wildlife portraits from “meh” to “magnificent!”
First up, the good old rule of thirds. It’s a classic for a reason, folks! Imagine your frame divided into a 3×3 grid. Placing your subject along these lines or at their intersections creates a balanced, engaging portrait. But here’s the kicker – don’t be afraid to break this rule! Sometimes, centering your subject can create a powerful, direct connection with the viewer. It’s all about what feels right for that particular shot.
Now, let’s talk about negative space. It’s not just empty space – it’s a powerful tool in your compositional toolkit! Using negative space can really make your subject pop. Imagine a lone wolf howling against a vast, snowy landscape. That empty space tells a story of solitude and wilderness that’s just as important as the wolf itself.
Want to really shake things up? Try experimenting with unconventional angles and perspectives. Get down low for a worm’s eye view of a towering giraffe. Or maybe climb up high for a bird’s eye view of a pride of lions. These unusual perspectives can offer a fresh take on familiar subjects and really make your images stand out from the crowd.
But here’s the real secret sauce – environmental portraits. Don’t just zoom in on your subject; include elements of their habitat to tell a fuller story. A leopard perched on a gnarly tree branch, a penguin diving into icy waters, or a monkey swinging through lush jungle vines – these environmental details add context and depth to your portraits.
Remember, composition in wildlife photography is all about balance. You’re not just taking a picture of an animal; you’re creating a work of art that captures the essence of that creature in its natural habitat. So next time you’re out in the field, take a moment to consider your composition. Your viewers (and your portfolio) will thank you!
6. Choose the Right Gear for Wildlife Portraits
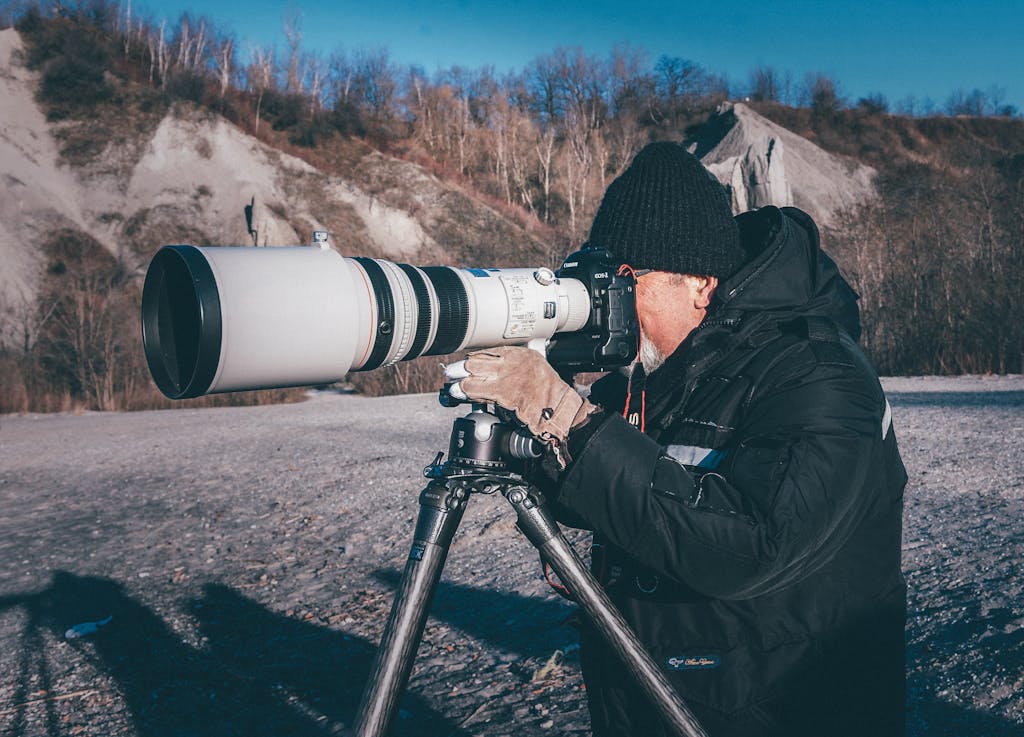
I know, I know, gear isn’t everything – but boy, can it make a difference when you’re trying to capture that perfect animal portrait.
First things first – if you’re serious about wildlife photography, you’re going to need a telephoto lens. And I’m not talking about that cute little 70-200mm you use for portraits. We’re talking 200mm at the very least, and honestly, the longer, the better! Why? Well, unless you fancy becoming a lion’s lunch, you’ll want to keep a safe distance from your subjects. Plus, that beautiful background blur you get with a long lens? Chef’s kiss Perfection!
Now, here’s a pro tip – consider investing in a fast lens. We’re talking f/2.8 or wider if you can swing it. Wildlife doesn’t always cooperate with perfect lighting conditions, and that extra stop or two of light can make all the difference when you’re shooting in the dim light of dawn or dusk. Plus, that shallow depth of field can really make your subject pop against the background.
But wait, there’s more! All that fancy glass is going to be pretty heavy, so you’ll want a sturdy tripod or monopod to keep things steady. Trust me, your arms will thank you after a long day of shooting. And if you’re feeling really fancy, look into a gimbal head for smooth panning and tracking of moving subjects. It’s like butter, I tell you!
Lastly, don’t forget about the weather! Mother Nature can be unpredictable, so make sure your gear can handle whatever she throws at you. Weather-sealed cameras and lenses are worth their weight in gold when you’re caught in an unexpected downpour or sandstorm.
Remember, the best gear is the gear that works for you and your shooting style. You don’t need to break the bank to get started, but investing in quality equipment can definitely open up new possibilities for your wildlife portraits. So start saving those pennies, because once you get a taste of what good gear can do, you’ll be hooked!
7. Post-Processing: Bring Your Portraits to Life

Alright, you’ve braved the elements, outsmarted wily creatures, and captured some amazing shots. But guess what? Your job isn’t over yet! Post-processing is where the magic really happens, turning your good photos into great ones. So, let’s roll up our sleeves and dive into the digital darkroom!
Remember these words – white balance. It might not sound exciting, but getting this right is crucial for capturing the true essence of the scene. Was that lioness bathed in the warm glow of sunset, or the cool light of dawn? Adjusting your white balance can transport viewers right back to that moment. Play around with it – sometimes a slightly warmer or cooler tone can completely change the mood of your image.
Like most photography, you’re going to want your photos to be sharp. But not just any sharpening – we’re talking selective sharpening. Zero in on those key features like eyes and fur. A tack-sharp eye surrounded by softer fur can create a stunning focal point that really draws the viewer in. But remember, easy does it! Over-sharpening is like too much hot sauce – a little goes a long way!
Here’s a little trick that can make a big difference – subtle vignetting. By slightly darkening the edges of your image, you can gently guide the viewer’s eye towards your subject. It’s like giving your animal portrait a spotlight without being too obvious about it. Just don’t go overboard – we’re aiming for subtle enhancement, not a tunnel vision effect!
And now for something completely different – have you considered black and white? I know, I know, nature is full of beautiful colors. But sometimes, stripping away the color can create incredibly dramatic and powerful portraits. It’s perfect for highlighting texture and form, and can give your images a timeless quality. Plus, it’s a great way to salvage shots taken in less-than-ideal lighting conditions. So, don’t care for the lighting in one of your images, just try it out in B&W. It could turn your meh photo, into your favorite shot of the day.
Remember, post-processing is all about enhancing what’s already there, not creating something that wasn’t. Your goal is to bring out the best in your images while still maintaining their natural beauty and authenticity. So go ahead, play around with those sliders and see what works best for each individual shot. Who knows? You might just surprise yourself with what you can create!
Bonus tip! If you find yourself making similar changes to each photo. Go ahead and create your own preset. It doesn’t have to be perfect. It’s meant to give you a quicker starting point in your editing process. You’ll still need to make changes even after your preset, but it will typically fewer and smaller changes each time. This can go a long way when editing 100’s of pictures.
Armed with these 7 secrets, you’re now ready to embark on your own wildlife photography adventure. Remember, capturing stunning animal portraits is as much about respecting and understanding your subjects as it is about technical skill. So grab your camera, head into the wild, and start creating those breathtaking images that will inspire others to appreciate and protect our natural world. Happy shooting!